
We’ve assembled this helpful user guide to assist new Solo owners with how to prepare and care for flowers and how to properly use and care for Solo Vase.
Flower Care. We’ve gathered tips and suggestions to help you select, prepare and take care of your flowers with your Solo Vase.
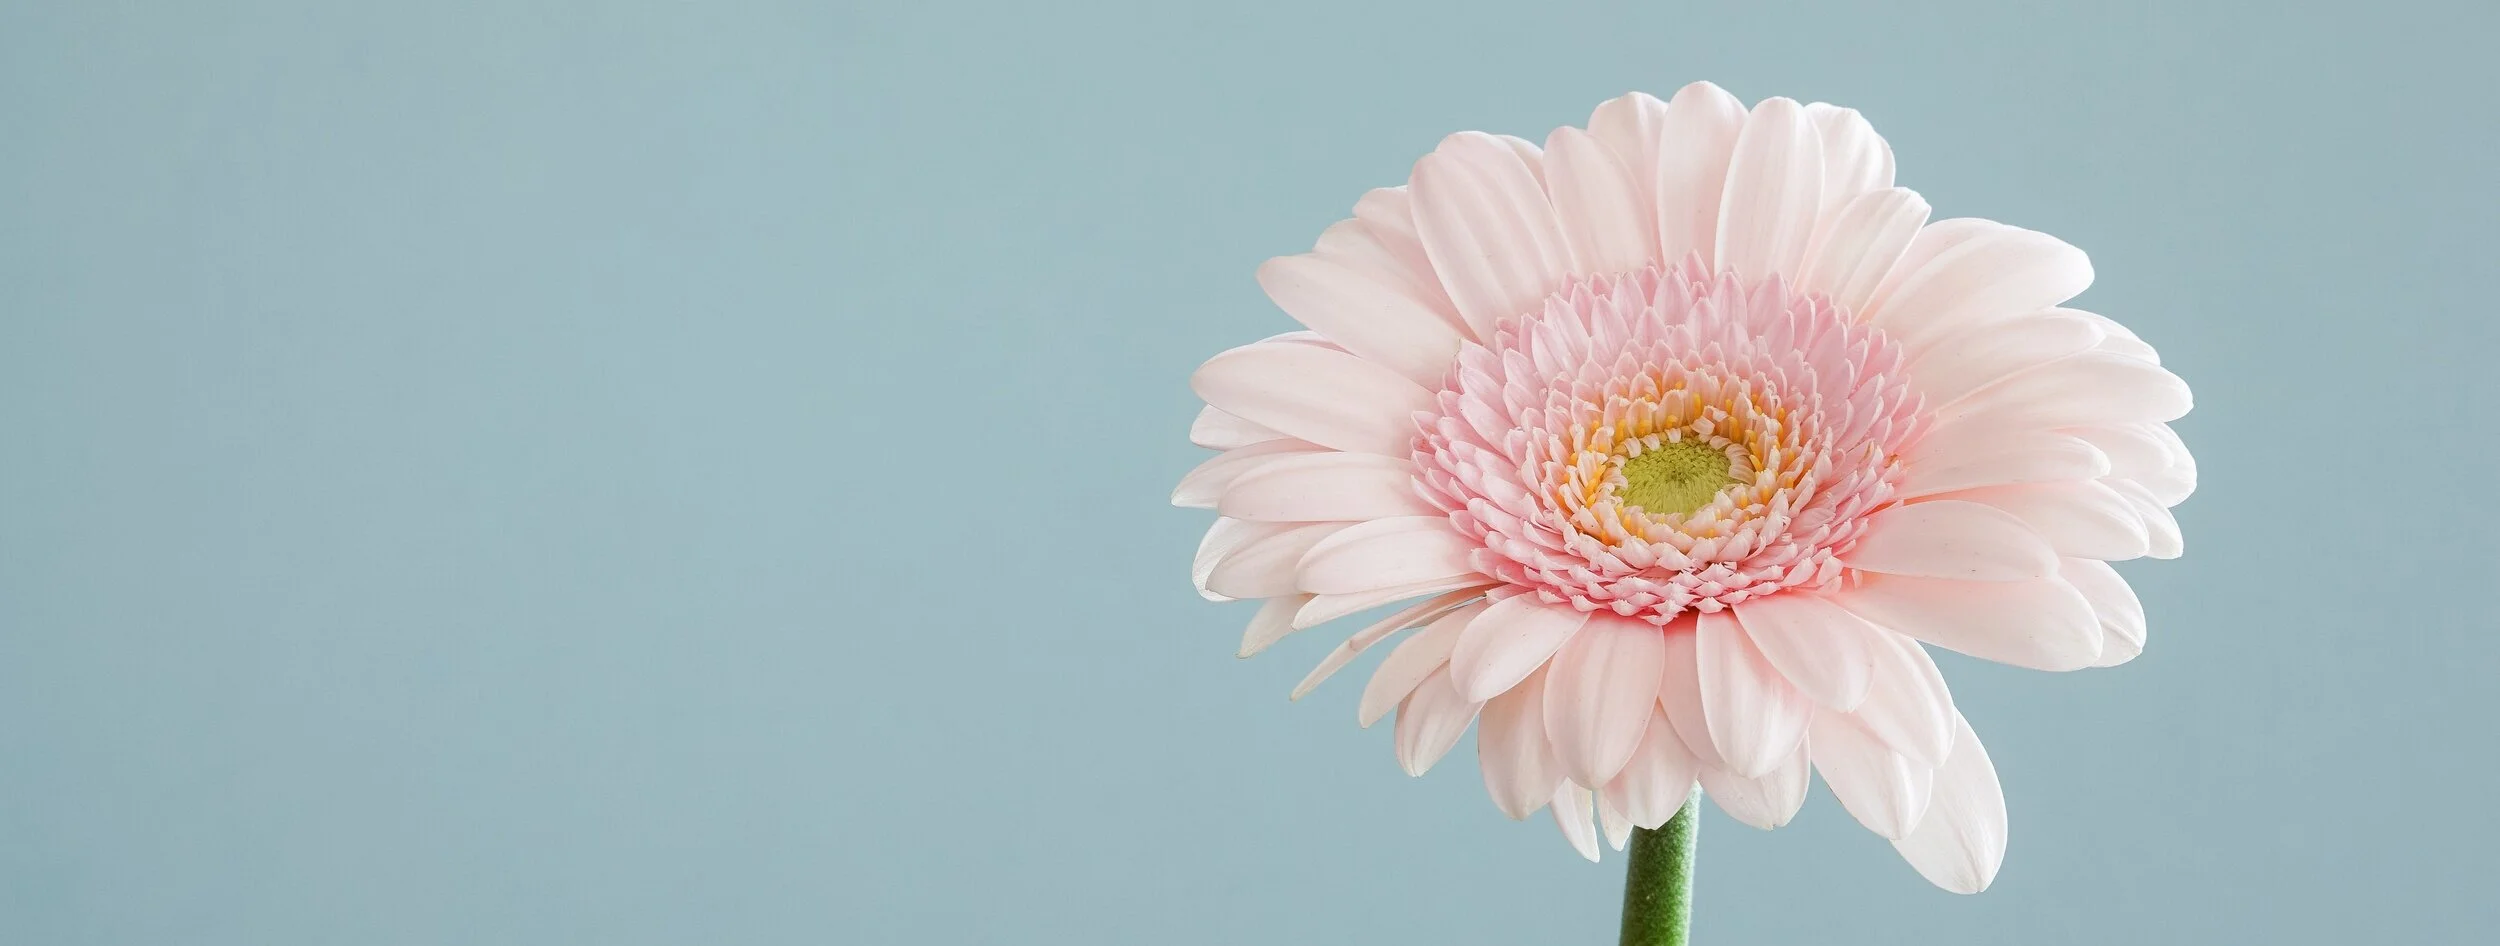
Selecting Flowers for Solo
You can use a wide range of flowers with Solo. Select flowers with stems that have appropriate diameter and length to use with the Solo Post. Experiment with different flower types and stem heights. Small flowers with thin stems may require the Small Solo Post available in the Solo Post Multipak.
Always test new flowers to make sure they are not acidic or prone to staining natural stone. Currently, we're aware of one flower, the Allium Giganteum which when cut, oxidizes and creates a red liquid that stains marble and stone.
Cutting Flowers for Solo
Cut your flowers straight across the stem so that the flower may rest flat on the Solo Base surface and easily draw water. This is different than the typical angle cut made for traditional vases.
Never Force the Solo Post into a Stem
When inserting a Solo Post into a flower or plant stem, you should stop if you encounter resistance from the stem. Inserting a Solo Post should always be easy. For stems that are woody or tough, consider using a hand drill and a small drill bit to first create a pilot hole for your Solo Post.
Watering Flowers in Solo
You can display flowers in Solo with or without water. For single day events like a wedding or business meeting, flowers can be displayed without water. To keep your flower looking its best for days, you can add water to the Solo Base. The Solo Base can hold up to 100ml or 3.3oz of water. Depending on the type of flower, sunlight and ambient temperature, the rate you need to add or replace water will vary.
Using Dry Flowers with Solo
Dry flowers can work wonderfully extending the range of exploration and art with Solo. As with woody stems of living flowers, approach each dry flower carefully to determine how best to insert the Solo Post before installing on the Solo Vase. A power drill may be required to create a hole in woodsy dry flower stems.

Solo Vase Care. In this section, you’ll find helpful tips for taking care of your Solo Base, your Solo Post and your furniture.
Use a Coaster, Pad or Tablecloth on Fine Wood Surfaces
Like cold or warm drinks or traditional flower vases, Solo can transfer water and humidity onto a surface. The Solo Vase is made from a natural marble stone which is porous and may have micro-cracks that are not visible to the eye and can bring moisture to the surface of the vase. Solo can also trap water from nearby water spillage from watering or moving Solo. We recommend using cork coasters, trivets or other pads under Solo on fine wood surfaces.
Carrying the Solo Base
Each Solo Base weighs about 2 lbs. Please be careful and keep a frim grasp on the Solo Base when picking it up and moving it to prevent a drop.
Moving Your Solo Vase With Water
Trying to carry and move the Solo Vase while it has water can be a challenge to avoid spills. We recommend first emptying the vase of water before moving. Our favorite methods to remove water are to use a washcloth to soak up any water or to pour the water into a nearby bowl. After a move, always check the surface to remove any water before placing your Solo Vase.
Cleaning the Solo Base
Your Solo Base is made of natural marble which can pick up organic chemicals or minerals from either water or flowers. You may clean your Solo Base safely using water or a water with a mild soap mixture. It’s important to avoid cleaners with high or low PH levels (acid or alkali) that could etch the surface of your Solo Base. For tougher stains, consider using a fine steel wool + cleaner to restore your Solo's surface.
Never Force the Solo Post into a Stem
When inserting a Solo Post into a flower or plant stem, you should stop if you encounter resistance. Inserting a Solo Post should always be easy. For stems that are woody or tough, consider using a hand drill and a small drill bit to create the hole for your Solo Post.
Straightening a Solo Post
It's possible for the thin needle of the Solo Post to become bent through usage. Should this happen, gently bend the Solo Post to restore it to its original shape and continue using.
Storing Your Solo Vase
When not in use, remove the Solo Post from the Solo Base to avoid accidental injury or damage to the Solo Post. We recommend cleaning your Solo Base before storing it for any period of time.
Sealing Your Solo Base Marble
We ship the the Solo Base in its natural state. If you wish, you can apply your favorite stone sealer or conditioner to protect the marble surface and reduce the possibility of staining, discoloring or moisture transfer.
Removing Stains from the Solo Base
Should your Solo Base become stained or discolored, you can restore the marble surface using cleaning and buffing products appropriate for marble and stone available at your local hardware store.